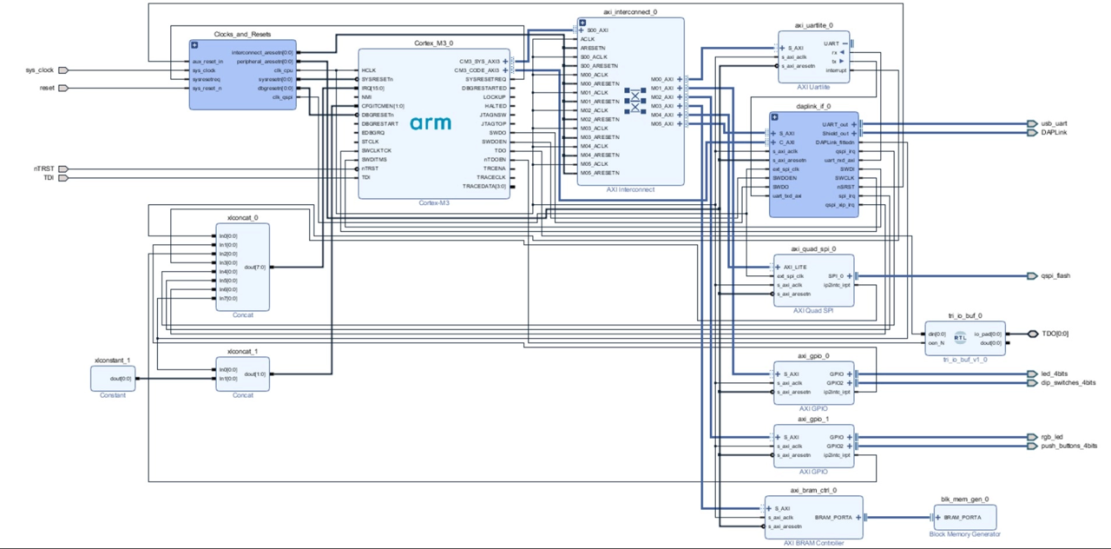
ARM DesignStart provides fast access to a select mix of ARM IP, including Cortex-M0, Cortex-M3 and Cortex-A5 processors and supporting IP, software and resources for custom silicon designs,. The program also provides Cortex-M1 and Cortex-M3 soft CPU IP, software and resources for FPGA designs. Adam Taylor, embedded design expert, creates a tutorial to get the Cortex M1 or Cortex M3 running on Digilent Arty S7-50T or Arty A7-35T. The detailed guideline is available at ARM resources page under Resources for DesignStart FPGA/Get up and running with Arm DesignStart. You can look at the summary below.
Required Tools:
- Xilinx Vivado 2018.2
- ARM Cortex M cores downloaded at ARM DesignStart Xilinx FPGA
- Digilent Arty S7-50T or Arty A7-35T
Step 1: Register in the DesignStart program and download the Cortex M0 or Cortex M3

ARM DesignStart FPGA Registration
Step 2: Download the ARM Cortex M cores
For example, you click on download and then click Download Now under ARM DesignStart Cortex M3 Xilinx Edition. You need to agree all license terms.

ARM DesignStart FPGA Cortex-M Downloads
Step 3: Extract project files
Both M1 and M3 packages are downloaded as compressed files, unzip these files until you see the following file structure.

ARM DesignStart FPGA Cortex M-3 Folder
Step 4: Download and Install Xilinx Vivado Webpack
You can follow Getting Started with Vivado at Digilent Wiki to install the free Xilinx Vivado Webpack

Xilinx Vivado Design Suite
Step 5: Open ARM Cortex M cores in Xilinx Vivado
For example, Adam loads Cortex M3 on Digilent Arty A7-35T. After he opens Vivado, he sets default IP location “click on Tools -> Setting and select IP Defaults and add the path to the Vivado folder extracted with the ARM Cortex M3 download”
Open the existing project under hardware directory (in the ARM Cortex M3 download)

Xilinx Vivado Set IP location
Step 6: Load ARM Cortex cores M on Xilinx FPGA
Before Adams load the Cortex M3 on Digilent Arty A7-35T, he connected the Arty A7-35T with the computer through the onboard USB port. Then, he open the Hardware Manager under Program and Debug in Vivado and UART terminal (e.g. PuTTY). He can make sure that the ARM Cortex M3 is loaded through the UART terminal.

Download the design to the FPGA device through Xilinx Vivado
Adam makes a demo video when the AMR Cortex M3 is loaded successfully. The project details is available at Digilent Project Page. You can also find more projects at Adam’s blog
Digilent Arty FPGA boards are available now in Excelpoint


